How to issue a Xexon Card
Here, we will explain how to issue a Xexon card. You need a Xexon account to issue a Xexon card.
1. Sign in to your Xexon account
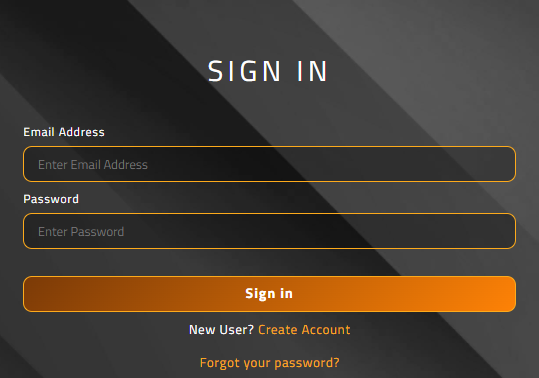
Please access the user management screen of Xexon and sign in.
Click here to sign in
2. Issue Debit Card
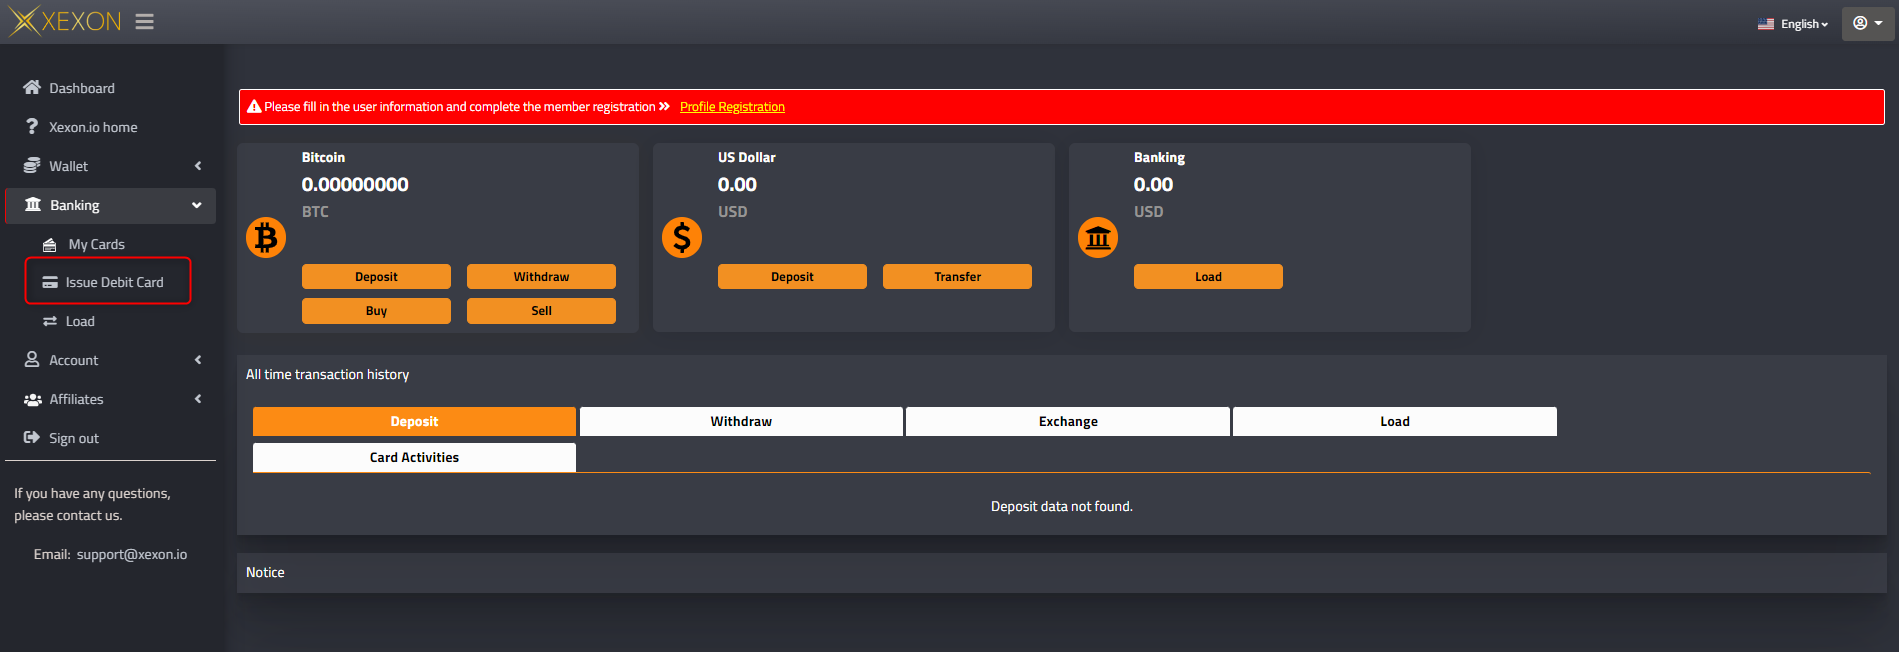
When the dashboard appears, click on “Xexon cards” in the sidebar. Click on “Issue Debit Card”.
For mobile, click on the hamburger icon next to the logo.
3. Profile settings
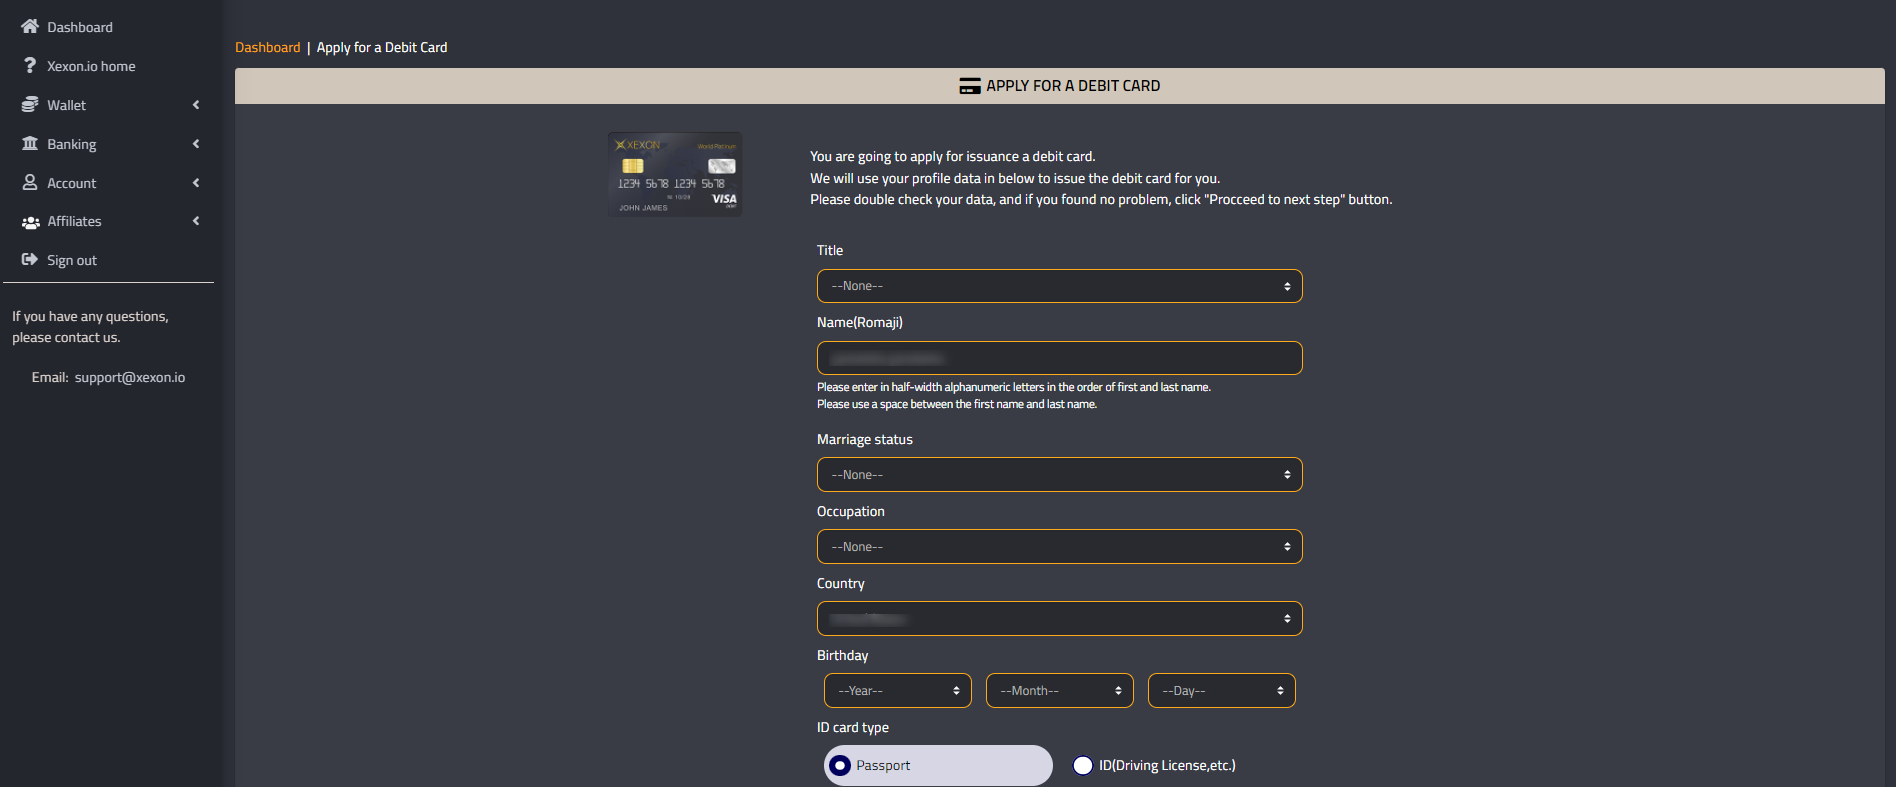
Register your profile to apply for a Xexon card. Please enter this profile correctly as it will be used to open a bank account.
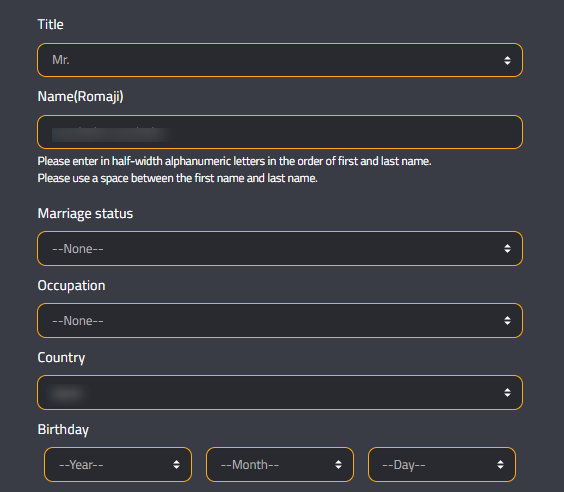
Title – Gender setting
Name – Please enter your name.
Please enter in alphanumerical
Use a space between the first and last name
Marriage status – Single or married
Occupation – Enter Occupation
CEO
Director Director
employee
Housewife
Student
Other Other
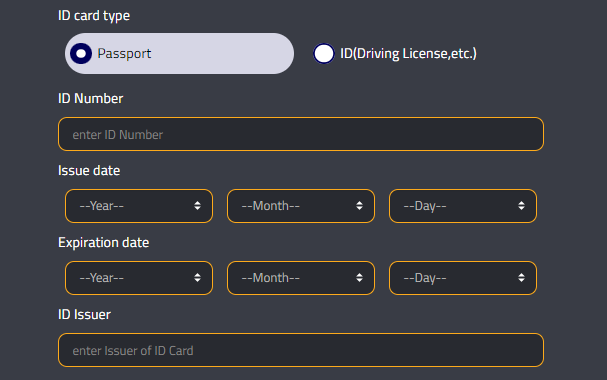
ID Number – Please enter the ID of the card used for identity verification
Passport number for passports, driver’s license number for driver’s license
Issue date –Issuance date of the card used for identity verification
Expiration date – Expiration date for the card used for identity verification
ID Issuer –Country of issue of the card used for identity verification
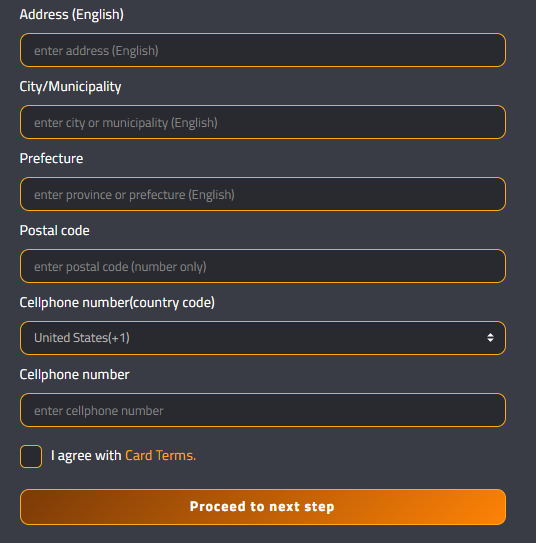
Address (English) – Please fill in your address
City/Municipality –Please enter the prefecture
Postal code – Please enter your zip code
Cellphone number(country code) – Please enter the country code of the phone number
Cellphone number –Please enter your phone number
Please read the terms and conditions of your Xexon card, check the agreement and click “Proceed to next step”.
The Xexon card will be sent to the address you registered here. Therefore, please make sure that there are no mistakes.
4-1. Signature on application documents
You will need to sign the documents required to issue your Xexon card.
Explains how to digitally sign.
* The following error message may appear when digitally signing with mobile.
“Please rotate your device horizontally (landscape) in order to sign document!”
If you get this error, turn mobile sideways and proceed.
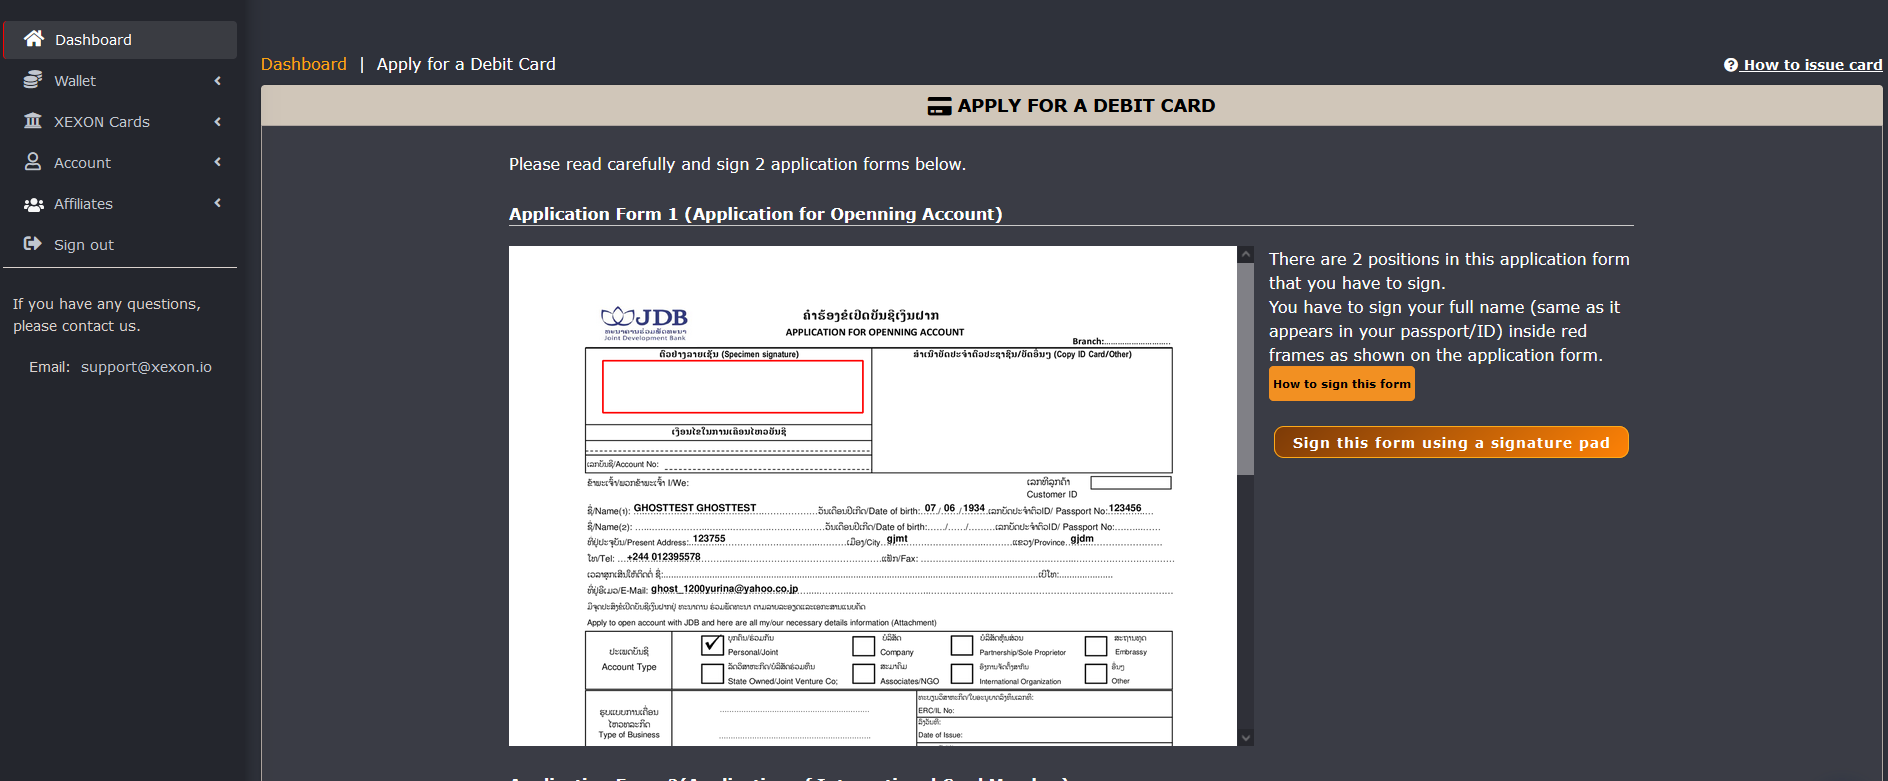

Follow the instructions on the screen and click “Sign this form using signature pad” to enter your digital signature.
Make sure your name, address, etc. are correct, and make sure you have a signature where you need it.
The signature must be written in the same language as the name on the card used to verify your identity.
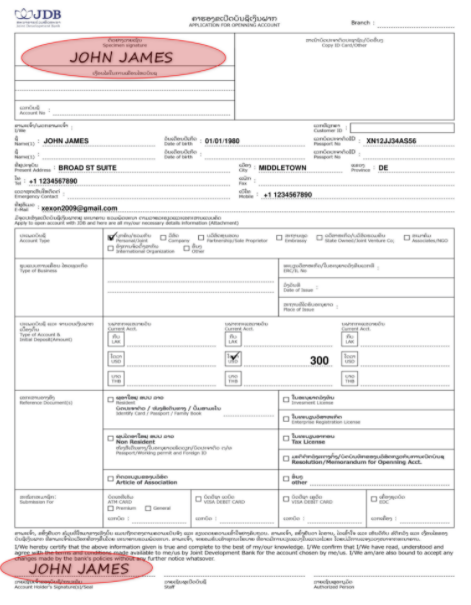
Click “How to sign this form” to find out more about where you need to sign.
For Document 1, you need to sign in two places, top right and bottom left.
4-2. Signature of application document 2
Application Form 2 documents also require a digital signature.
Click “Sign this form using a signature pad” to digitally sign.
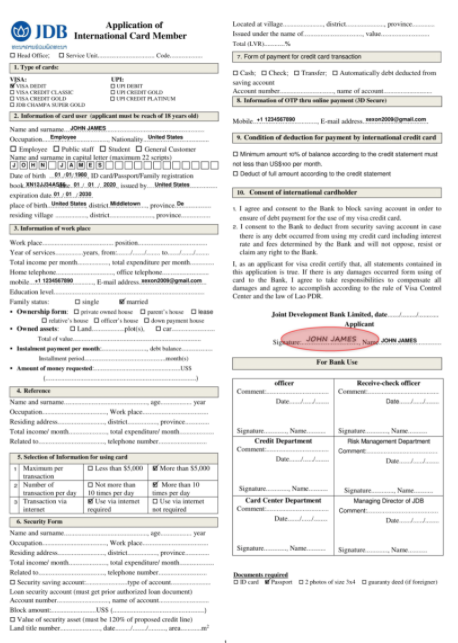
A signature is required on the first page of Document 2.
Make sure that the contents of the documents such as your name and ID card number are correct.
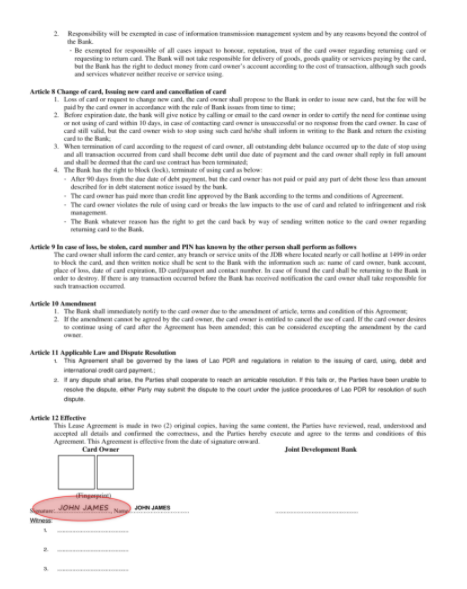
The fourth document also requires a signature.
Confirm that the digital signature has been entered, and click “Uppoad and go next” to proceed to the next step.
5. Upload your ID card images and selfie images
The image file to be uploaded must be JPG or PNG.
The image size to be uploaded should be 10MB or less.
When using a passport for identity verification:
1: Image of the place where the passport photo is shown
2: Selfie image with a passport
When using a driver’s license for identity verification:
1: Image of the surface showing you
2: The back of the driver’s license
3: Selfie image with a driver’s license
After uploading the SELPHY image, the documents will be reviewed.
Normally, the review will be completed in a few business days and you will be notified of the review result by email.
“Review your submitted data”
You can check the documents and images you uploaded.
If your document is incomplete, you can start over with “Do it over again?”.
6. Payment of card issuance fee
This section describes how to pay the card issuance fee.
Card issuance cost: 600USD
Of the 600 USD, 150 USD will be added to your bank balance.
When paying in BTC or USD, payment will be made from the balance of the Xexon wallet.
If you pay with BTC, please deposit BTC in your Xexon wallet.
When paying in USD, please exchange the BTC of the wallet for USD.
BTC deposit method
・ From the sidebar, go to Wallet → Bitcoin → Deposit
・ Send BTC to the displayed BTC address
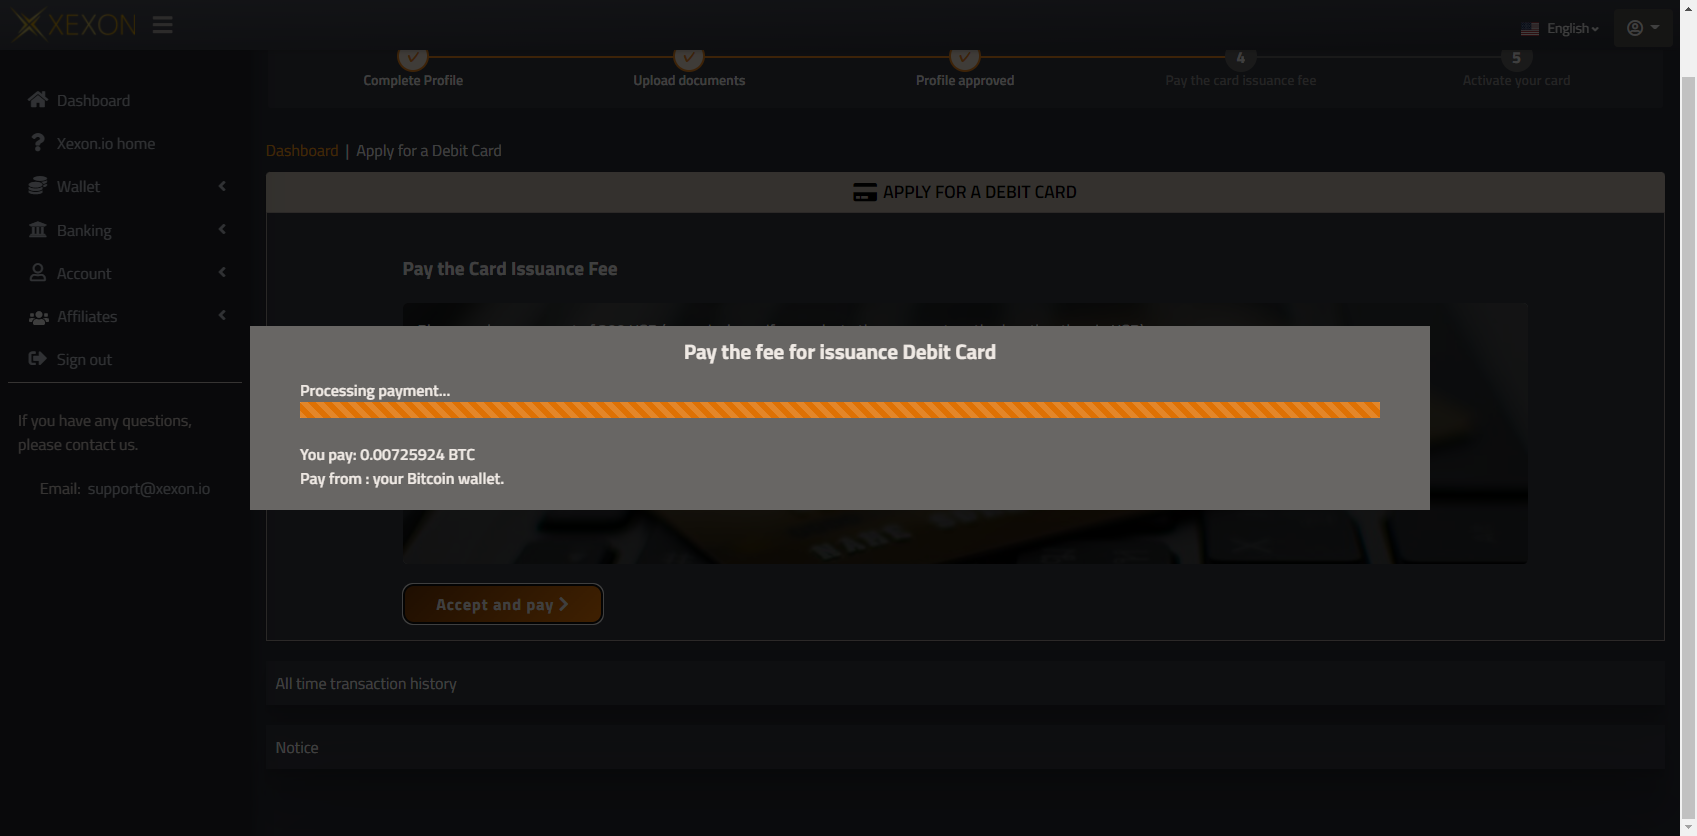
Select a payment method and click “Accept amd pay”.
In the case of BTC, you will be paid $ 600 worth of BTC.
If you use a credit card, follow the instructions on the screen.
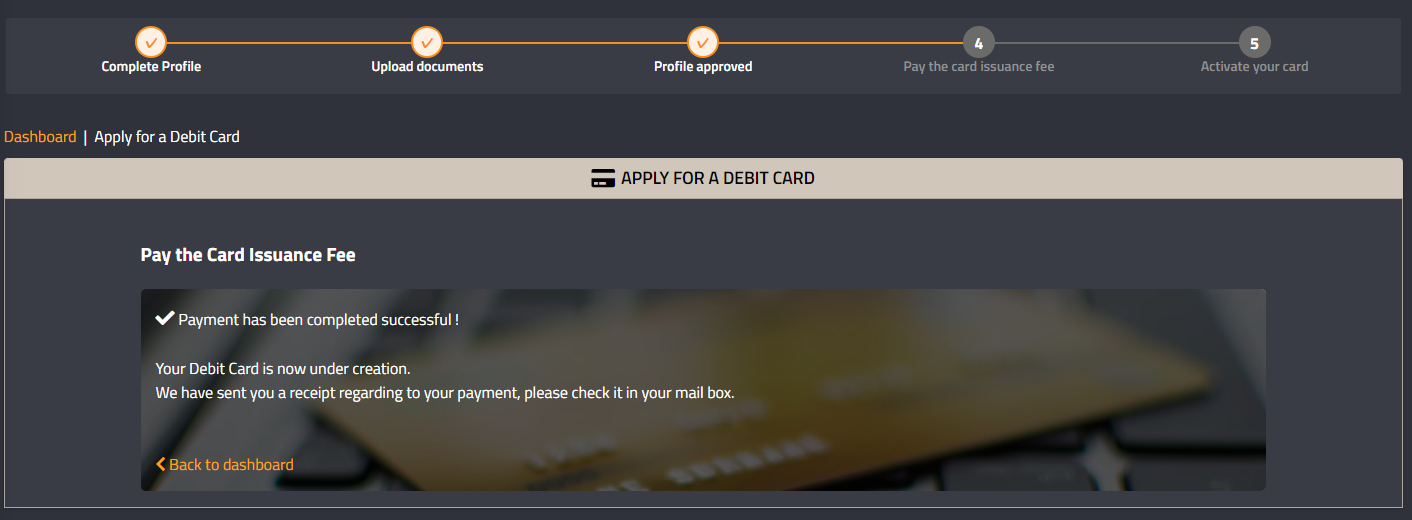
After the payment is completed, the payment details will be sent to the registered email address.
Debit cards usually arrive at the registered address within 3 weeks.
The received card can be used for shopping and ATM withdrawals by activating it.
7. Card activation
Did you receive your debit card?
The card will usually arrive at the registered address within 3 weeks.
Activation is required to use the card.
Click “Activate your debit card now” to activate your card.
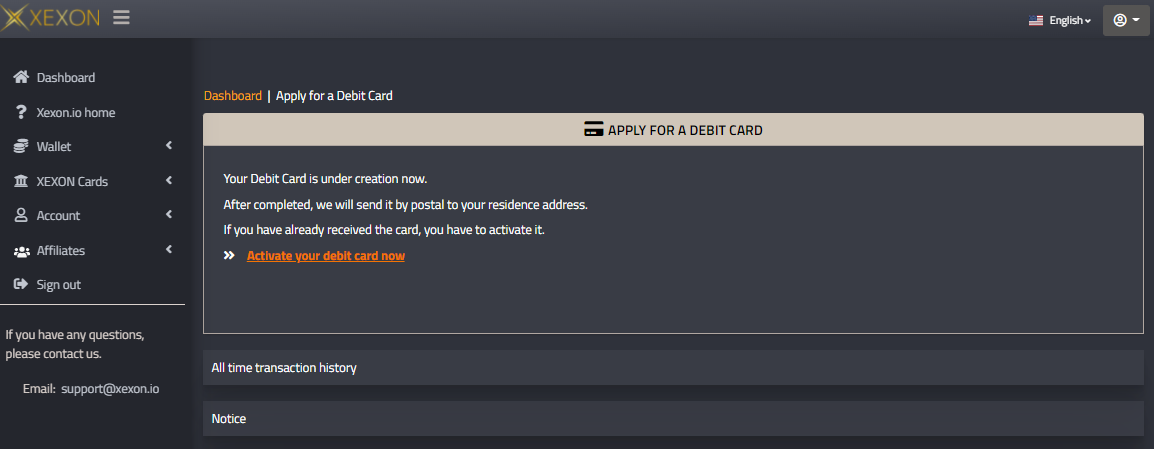
Take a picture with the debit card you received and the ID card you used to verify your identity in one hand.
・ Do not hide your face
・ Take two pictures with one hand
・ Show both debit card and ID card so that they can be read
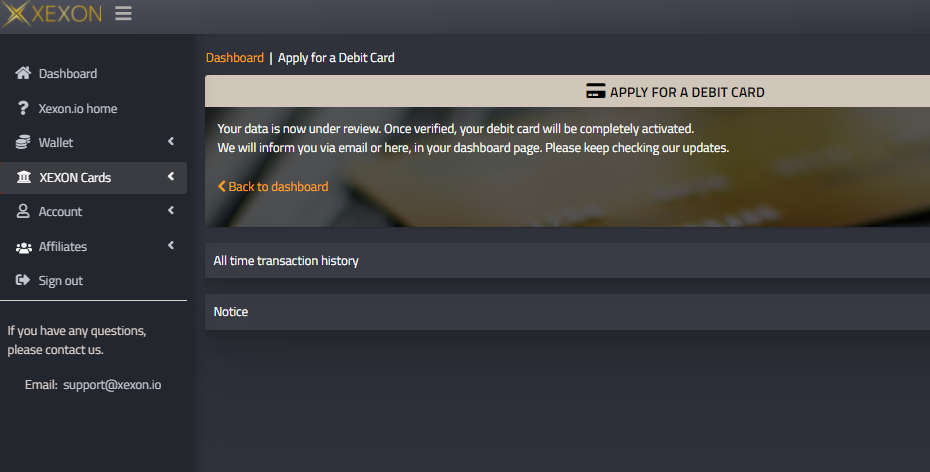
Please wait until approval after uploading the image.
The card will be available after approval is complete.
8. How to use a debit card
You can use it immediately after the card is activated.
Check the PIN code enclosed with the card to use shopping and ATM withdrawals.
This PIN code is the 6-digit number inside the enclosed envelope.
Precautions:
Do not disclose this number to anyone.
Do not write this number on the card.
There is a risk that it will be used if the card is lost.
If you do not know the PIN code, you can reissue it.
Please note that a fee is required for reissuance and it may take some time.
